How to Make a Ginger Bug – Your Wild Fermentation Starter
Share
If you’ve ever dreamed of making your own naturally bubbly sodas at home — think ginger beer or zingy fruit sodas — then it all starts with one thing: a ginger bug.
This wild-fermented starter is the fizzy heart of homemade fermented drinks, and the good news? You only need ginger, sugar, and water to make one. Yep — it’s that simple.
Let’s dive in.
Ingredients – What You’ll Need
Just the basics:
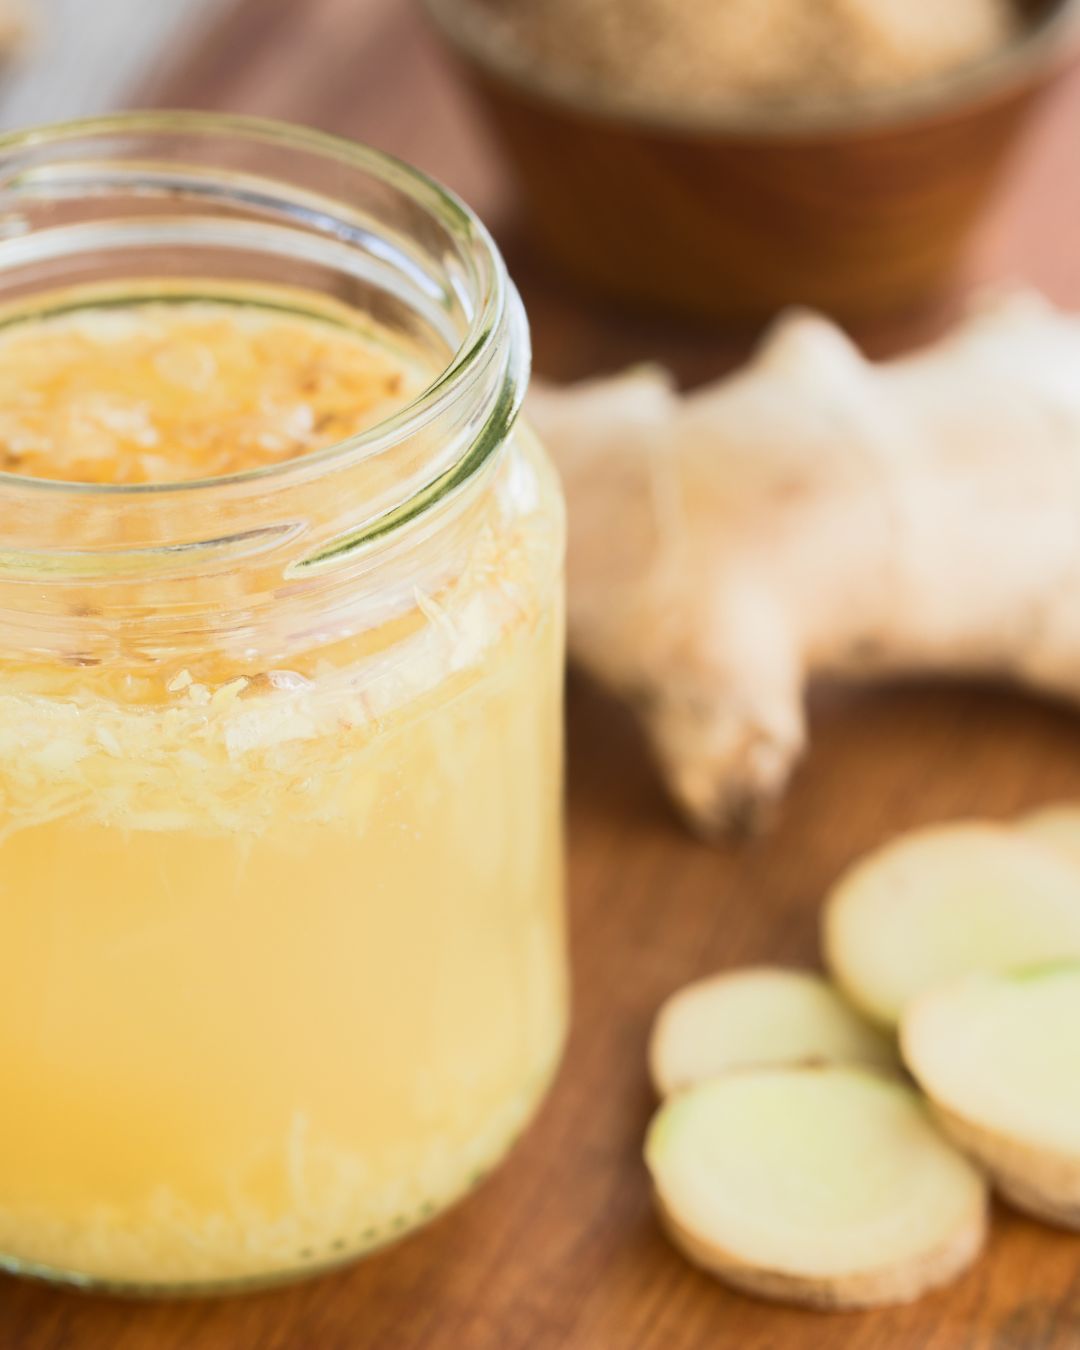
Ginger root – Unpeeled, fresh, and ideally organic. The skin is where a lot of wild yeast lives.
Raw sugar – Look for organic cane sugar or any minimally processed granulated sugar.
Water – Filtered or spring water is best. Avoid chlorinated tap water (chlorine can inhibit fermentation as it's designed to kill microbes).
Equipment – Nothing Fancy Required
You can totally DIY this setup with what’s in your kitchen:
1 quart-size glass jar
2 small jars with lids (for storing & maintaining your bug)
A small square of clean cotton cloth
1 rubber band
Small strainer
Teaspoon measure
That’s it. The rubber band might be the most complicated bit to find.
How to Make a Ginger Bug
This is a simple daily feeding schedule. Think of it like a sourdough starter’s fizzy cousin.
Day 1
Chop (or grate if you prefer) 1 tablespoon of unpeeled ginger
Add 1 tablespoon of raw sugar
Add 1 cup of filtered water
Stir, cover the jar with cloth, and secure with a rubber band
Let it sit at room temperature
Days 2–5
Feed your bug once a day with:
- 1 tablespoon chopped ginger
- 1 tablespoon sugar
- Stir well and cover again
You’ll start to see signs of life by day 3–4, but don’t rush it. Wild fermentation works on its own schedule.
How to Know When It’s Ready
Your senses are your best tools here. Use sight, smell, sound, and taste to guide you:
Sight – The liquid will turn from clear to cloudy. Tiny bubbles will appear. Ginger may float. Foam might build on the surface.
Smell – It should smell sharp, gingery, with a hint of yeasty funk (in a good way).
Sound – Stir it and listen close — that fizzy pop means things are active.
Taste – Try a clean spoonful. It should be lightly sweet, gingery, and tangy — like a zippy lemonade.
Most bugs are active and ready to use between days 5–10, depending on your home’s temperature and wild yeast population.
How to Use Your Ginger Bug
Strain off the liquid and use the amount called for in your recipe (usually about ¼ to ½ cup). You can use it to ferment:
- Homemade ginger beer
- Sparkling fruit juice or tea
- Ginger tonics - just top up a tbsp or two of your bug with sparkling water or tonic
- Seasonal fizzy drinks (think spiced holiday brews)
Anything sugary can become a probiotic soda — this is where the fun starts!
How to Store & Maintain Your Ginger Bug
Once your bug is bubbling and ready, strain out the ginger pieces and transfer the liquid to a clean jar. Then:
Add 1 tablespoon chopped fresh ginger + 1 tablespoon sugar
Stir and seal the jar with a lid
Store in the fridge
Feed weekly to keep it alive
It’ll last indefinitely with love (and regular sugar).
Final Thoughts
Your ginger bug is a living, bubbling companion in your fermentation adventures. Keep it healthy, get creative, and don’t be afraid to break a few “rules” (I’ve used ginger bug to jump-start kombucha and it’s worked just fine — I'm all for a bit for fermentation rebellion).
Next up? 👉 Homemade Ginger Beer Recipe