How to Make Perfect Sauerkraut: My Simple Naked Kraut Recipe
Share
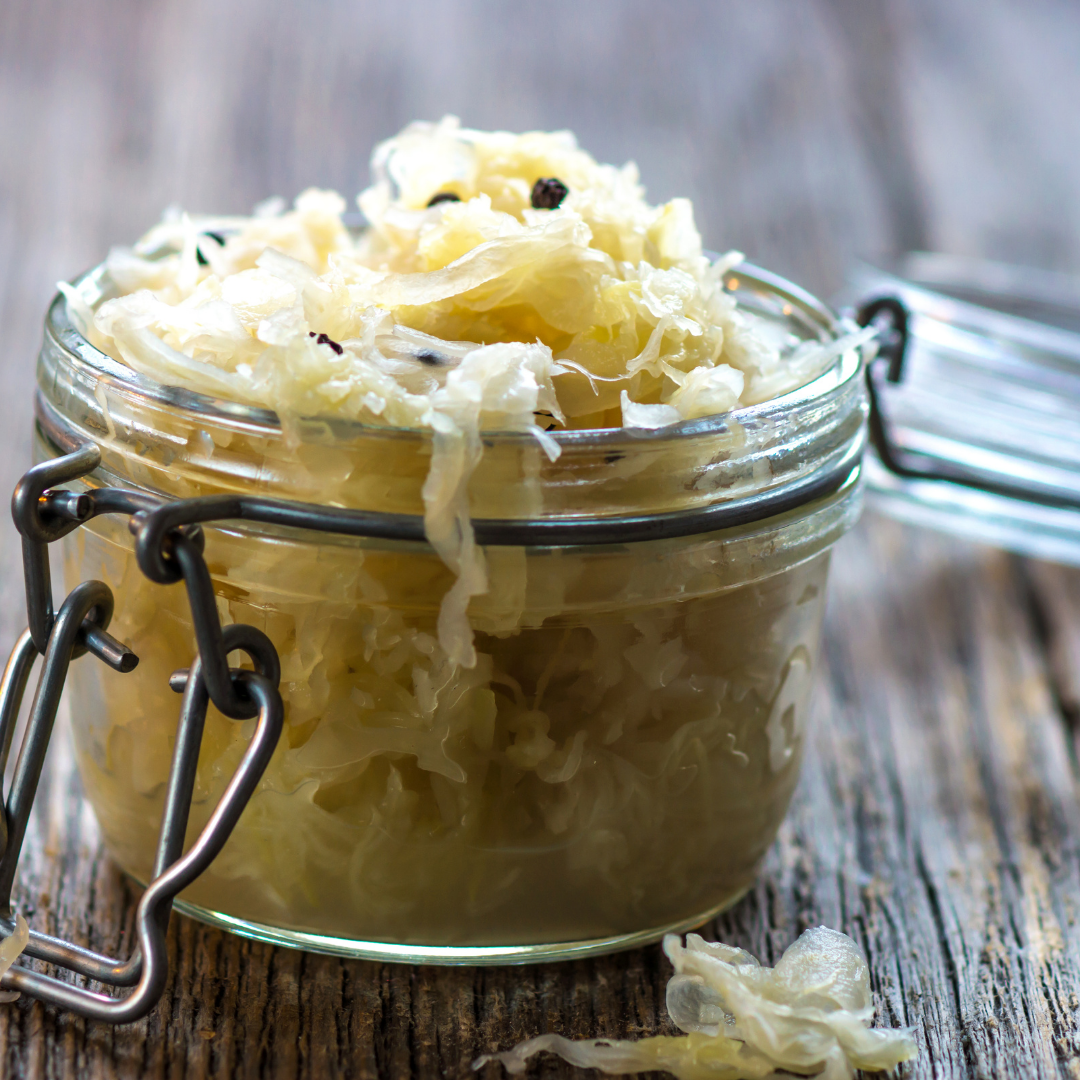
Are you ready to dive into the world of fermentation? This simple and satisfying sauerkraut recipe, lovingly dubbed "Naked Kraut," is perfect for beginners. With just two ingredients and minimal tools, you'll create a tangy, probiotic-packed delight in no time. Let’s get started!
What is Fermentation & how does it work?
Fermentation is a simple, inexpensive process for preserving vegetables. We've been doing this for thousands of years without any complicated equipment or refrigerators. It's a natural process and nothing to be scared of.
During the Fermentation process (also called lacto-fermentation) we are creating an environment where the friendly gut-loving lactic acid bacteria will multiple and thrive and the pathogens (the bad guys) won't want to be. The friendly bacteria that are already present on your veggies then start to consume the carbohydrates (the vegetable sugars) in your veggies and convert them into lactic acid. This is where the sour taste comes from. This process makes the vegetables easier to digest and it's easier for your body to absorb the nutrients from the vegetables because your digestive system isn't having to work as hard to break down the veggies (the bacteria have already done some of that for us).
Why Make Your Own Sauerkraut?
Homemade sauerkraut is a powerhouse of probiotics and gut-friendly bacteria. It's also cheaper, tastier, and more rewarding than store-bought options. Often it's a heck of a lot healthier too. Plus, this basic recipe is a fool proof introduction to the art of fermentation.
Ingredients and Tools You'll Need
Ingredients
- 1 fresh cabbage
- 1 tablespoon of good quality fine sea salt (no additives)
Tools
- 1-litre glass jar
- Knife
- Large mixing bowl
- Clean tea towel
- Small ramekin or additional glass jar
Step-by-Step Guide to Making Naked Kraut
1. Prepare Your Workspace and Ingredients
- Wash all tools and utensils with hot, soapy water.
- Discard damaged outer leaves from the cabbage and rinse thoroughly.
- Set aside a couple of clean outer leaves for later use.
2. Slice and Salt the Cabbage
- Quarter the cabbage and remove the core (compost it if you can).
- Thinly slice the cabbage into ribbons. If you have a mandolin, even better.
- Place the shredded cabbage in a bowl and mix in the salt.
- Pro Tip: Weigh your cabbage and use 2% of its weight in salt for precision.
- Gently massage the salt into the cabbage for a few minutes.
- Pro Tip: How Firm should you massage your cabbage? You don't want to damage the cell walls of your veg but we're not tickling the cabbage either!
- Cover with a tea towel and let it rest for up to 30 minutes. The salt will draw out the juices, creating a natural brine. If you don’t see much brine after the first 30 minutes, massage again and leave it for another 30 minutes.
3. Pack the Cabbage into Your Jar
- Tightly pack the salted cabbage into your glass jar, pressing it down with a fork or your hands to remove air pockets.
- Pour any remaining brine into the jar, ensuring the cabbage is submerged.
- Pro Tip: Below the brine all is fine is a good mantra to remember when you're making sauerkraut
4. Add a Cabbage Leaf Topper
- Use the reserved cabbage leaves to create a topper. Trim or fold them to fit the jar’s size.
- The goal is to keep all your shredded cabbage submerged under the brine.
5. Add a Weight
- Place a small glass ramekin or another jar on top of your cabbage leaf topper to weigh down the cabbage. This helps to keep everything below the brine.
- Pop the lid on your jar. If it's a metal lid, add a layer of parchment paper because this helps to create a barrier between your ferment, which will become increasingly acidic, and is corrosive when in contact with metal.
Fermentation Time: Patience is Key
- Place the jar away from direct sunlight and on a plate to catch any brine overflow during the first few days.
- Let it ferment for 5–14 days, depending on your taste preference. You will need to burp it daily to allow the build up of gases to escape. However, if you are using a Kilner branded jar, these are self burping so you can just leave it be.
- Start tasting after 5 days. The kraut is ready when it has a tangy, sour flavour.
- For a stronger tang, let it ferment longer.
Storing Your Sauerkraut
- Once the sauerkraut reaches your desired taste, transfer it to the refrigerator. If you made a large batch, you can always decant it into smaller jars.
- It will last up to a year if unopened and stored properly. Once opened, aim to finish it within two weeks.
FAQ: Troubleshooting Your Sauerkraut
What if my sauerkraut doesn’t have enough brine?
- Try massaging the cabbage again. I prefer not to do this but if you are struggling to get some brine after another massage because you're veggies have been in the fridge for a while you can try adding a small amount of salted water (1 tsp salt per cup of water).
Can I add extra ingredients?
- Absolutely! Carrots, ginger, garlic, or caraway seeds can add unique flavours to your kraut. Naked Kraut is a starting point for some exciting adventures in flavour.
Why does my jar overflow?
- Fermentation produces gases (mainly carbon dioxide) that can cause brine to bubble over. This is normal—just clean up the overflow and keep fermenting!
Why Naked Kraut is the Perfect Starter Recipe
With its simplicity and minimal ingredient list, Naked Kraut is an ideal entry point for anyone curious about fermentation. It’s healthy, delicious, and endlessly versatile. Serve it on sandwiches, in salads, or as a side to your favourite meals.
Ready to get fermenting? Let us know how your Naked Kraut turns out in the comments below! Don’t forget to share your tips and favourite additions for this classic recipe.