Cultured Piccalilli – A Fermented Twist on a British BBQ Classic
Share
Looking to liven up your cheeseboards, sandwiches, or summer barbeques? This cultured piccalilli is a tangy, crunchy, probiotic-rich take on the classic British relish. Traditionally, piccalilli is made with vegetables preserved in a vinegar-based mustard and turmeric sauce — delicious, yes, but a little heavy on the sugar and a bit light on the gut-friendly goodness.
My version skips the vinegar and sugar, relying instead on wild fermentation to do the preserving. The result? A bright, complex, tangy relish that’s packed with live cultures and vibrant flavours — and perfect for spooning alongside grilled meats, cheese platters, and chunky doorstop sandwiches.
I used to make commercial batches of this when I ran a small-batch ferment business, and it’s still one of my favourites. It’s also endlessly adaptable: don’t get too hung up on the exact quantities — just stick to the 2% salt ratio by weight and you’re golden.
What You’ll Need
Vegetables:
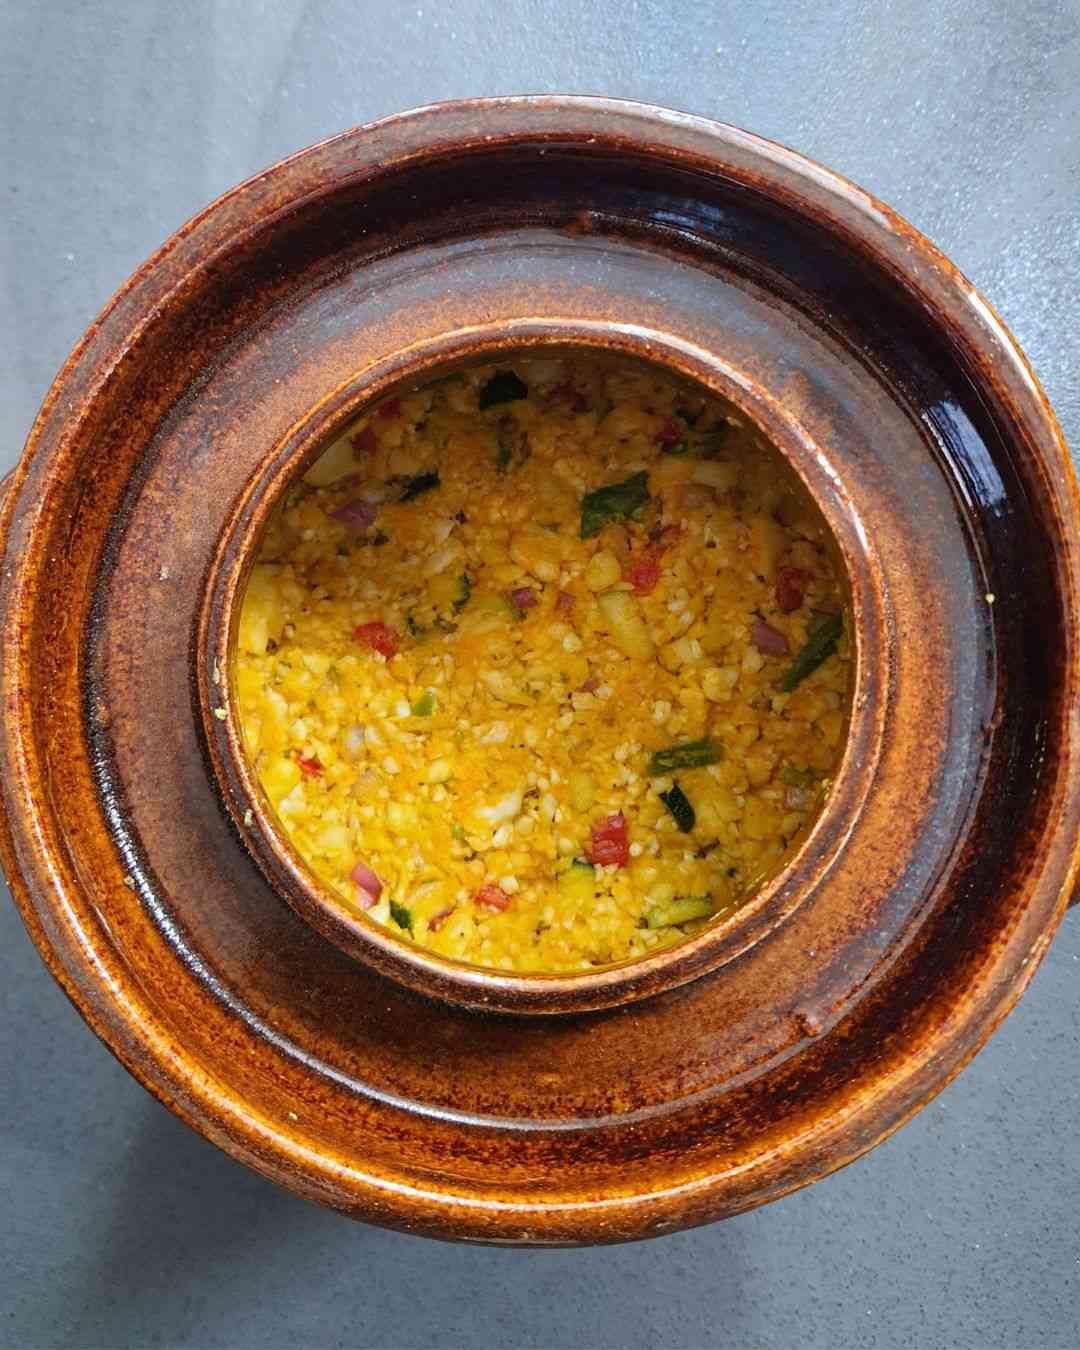
- 1 medium head of cauliflower (approx. 1kg)
- ½ courgette (approx. 100g)
- 1 red sweet pepper or bell pepper
- 6–8 runner beans (or green beans)
- 1 ripe pear
- 1 red onion
- 2–3 cloves of garlic (or more, go wild)
- A thumb of fresh ginger (about 20g)
Spices:
- 2 tbsp ground yellow mustard seed or mustard powder
- 2–3 tsp ground turmeric (or fresh, finely grated, if preferred)
- 2 tsp dried oregano
Extras:
- good quality sea salt - 2% of your total veg weight (approx 25g sea salt for the quantities above)
- 1 clean cabbage or lettuce leaf (to help keep everything submerged)
- A fermentation weight or improvised equivalent
- A clean 1.5L jar (have an extra jar on standby just in case you have extra veg)
Instructions
1. Prepare your veg
Wash everything thoroughly. Break the cauliflower into small florets (or pulse in a food processor — just don’t blitz it to mush). Dice the courgette, pepper, pear, and onion into small cubes. Slice the beans into small chunks to match the rest of the veg. Mince your garlic and finely grate the ginger.
2. Add your spices and salt
Combine all the chopped veg in a large bowl. Sprinkle over the salt, mustard, turmeric, and oregano.
👉 Tip: If you’re sensitive to turmeric stains, massage the veg with salt first, then mix in the turmeric and mustard after the brine has started forming.
3. Massage and wait
Use your hands to massage the mixture until it starts to release liquid. Let it sit for 20–30 minutes to allow more brine to draw out.
4. Pack into your jar
Pack the veg tightly into your jar, pressing down to eliminate air pockets. The brine should start to rise to the top — if it’s just under the surface, don’t worry, it’ll usually rise more in the next day or two.
Leave a couple of inches of headspace. Wipe the inside top of the jar clean and lay a cabbage or lettuce leaf on top to help keep stray veg submerged. Add your weight.
5. Ferment
If you're using a Kilner-style clip-top jar, you can leave it to ferment as-is — it's self-burping. If using a screw-top jar, burp it daily to release pressure. Place a saucer underneath your jar to catch any brine overflow.
Let it ferment at room temperature for 7–10 days. Start tasting from day 7 — once it has a bright tang and the veg has softened slightly, it’s ready to move to the fridge. If you decant into smaller jars, they’ll stay sealed and fresh for longer — unopened, your piccalilli should keep in the fridge for up to 6 months. Once opened, keep an eye out for oxidation (darkening or drying at the top), and aim to eat within 2–3 weeks for best flavour and texture.
How to Use Cultured Piccalilli
Serve alongside grilled meats, dollop onto burgers or sausages, spoon it onto a ploughman’s lunch or cheese board, or pile it into a chunky cheddar sandwich. It’s also excellent stirred into egg mayo or as a topping for baked potatoes.
Notes
-
Storage: Keeps for months in the fridge. Flavour will deepen over time.
-
Safety: Always use clean jars and utensils, and watch for signs of spoilage (mould, off smells). If in doubt, throw it out.
- New to fermenting? Check out my Naked Kraut recipe for a beginner-friendly intro to wild fermentation.