Root Veg Kimchi (Krautchi): A Flexible Fermentation Recipe for Seasonal Veggies
Share
Root Veg Kimchi (Krautchi): Fermenting Made Flexible and Delicious
Have you ever found yourself with a jar of leftover brine in the fridge, thinking, "What now?" That was me the other day after finishing a batch of my Root Veg Kimchi. One taste of that delicious brine inspired me to share this flexible, no-fuss fermentation recipe with you.
If you’re someone who loves reducing food waste and experimenting with what’s already in your kitchen, this recipe is for you. My approach to fermentation has always been simple: use what’s available, stick to seasonal ingredients, and allow room for flexibility. So, whether you’re working with leftovers from a Sunday roast or fresh produce from your local greengrocer, this recipe will become your go-to fermentation favourite.
Let’s dive into this uniquely flavourful, versatile "Krautchi" — a kimchi-style ferment made using the kraut method.
Why You’ll Love This Recipe
-
Flexible Ingredients: Use whatever root vegetables you have on hand. Don’t stress about quantities.
-
Great for Leftovers: Perfect for reducing food waste after a big meal.
-
Gut-Healthy: Packed with probiotics and nutrients from natural fermentation.
-
Simple Process: Easy steps for beginner or experienced fermenters alike.
Ingredients
Feel free to mix and match! Here’s what I use as a base:
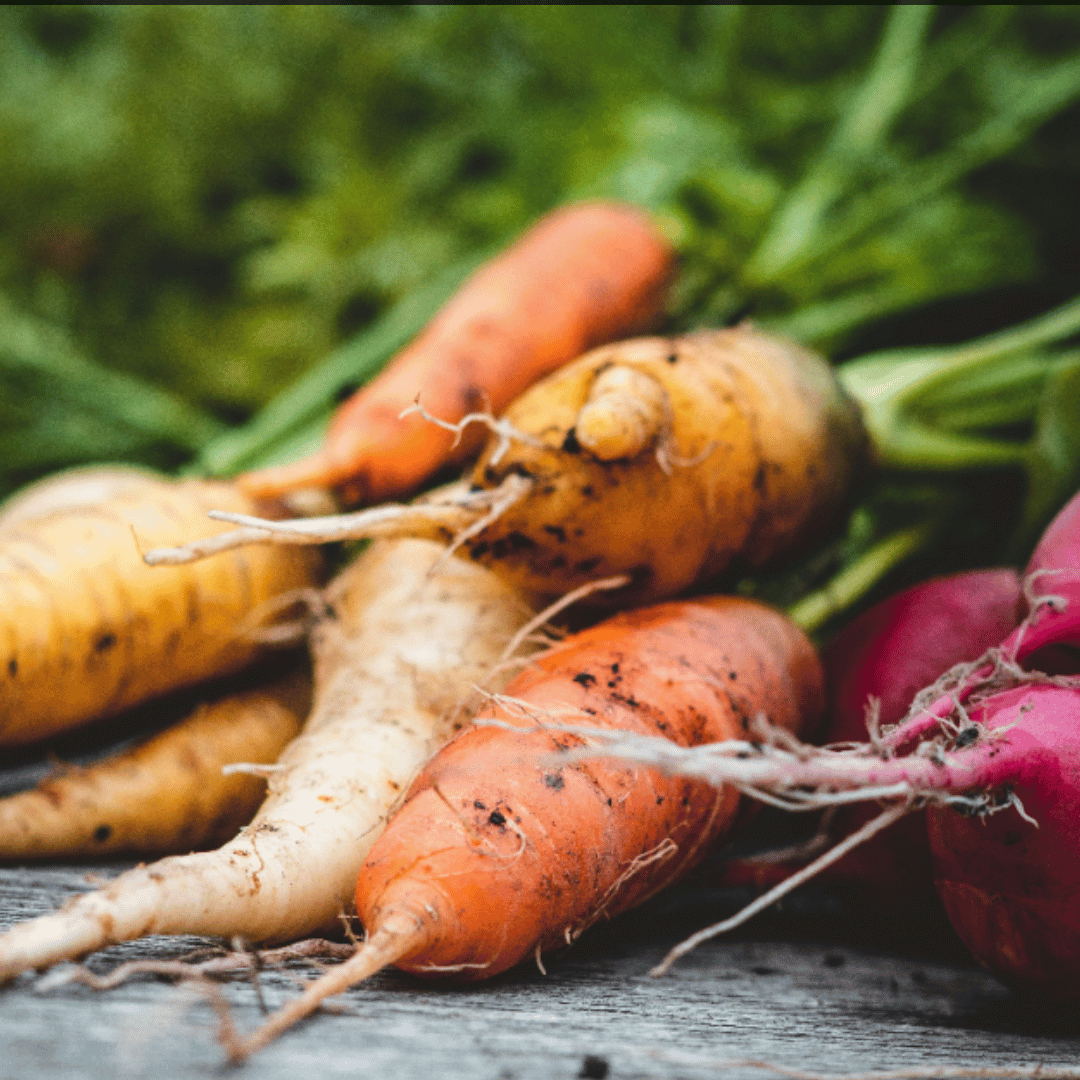
Root Vegetables (Use What You Have)
-
Carrots
-
Parsnips
-
Swede
-
Jerusalem Artichokes
-
Beetroot
-
Celeriac
Per Kilo of Veggies:
-
1 Red Onion (or any onion, finely chopped)
-
1 Pear (grated)
-
½ to 1 bulb of Garlic (crushed)
-
4 tsp Gochugaru (Korean chili flakes) – adjust to your heat preference
-
20g Fresh Ginger Root (grated)
-
2 tsp Smoked Paprika
-
2 tsp Turmeric Powder (or 1 tbsp fresh, grated turmeric)
Extras:
-
Good quality fine sea salt (no additives)
-
Spare cabbage leaf or thin carrot slices (to weigh veggies down)
-
Optional: A weight (glass jar, ramekin, or fermentation stone)
Step-by-Step Instructions
Step 1: Prep Your Workstation
Put on your favourite podcast or playlist — fermentation should be fun and relaxing! Start by washing and grating all your veggies. I recommend coarse grating for a better texture.
Before placing the veggies in a bowl, weigh the empty bowl and jot down the number for later.
Step 2: Weigh & Salt Your Veggies
-
Add all your grated vegetables to the bowl.
-
Mix in one finely chopped onion and one grated pear per kilo of vegetables. (Don’t worry if you have slightly more or less!)
-
Weigh your full bowl of veggies (subtract the bowl’s weight) and calculate 2% salt. For example, 1kg of veg = 20g salt. No calculator? Just multiply your total veg weight by 0.02.
Step 3: Massage the Veggies
Sprinkle the salt over your veggies and gently massage them to release their natural brine. This takes a few minutes. You’ll know it’s ready when you see liquid forming at the bottom of the bowl.
Step 4: Add Spices
Stir in the garlic, ginger, gochugaru, smoked paprika, and turmeric. If you don’t have gochugaru, substitute with regular chili flakes, starting with 1 tsp per kilo (adjust to taste).
Step 5: Jar It Up
-
Pack your veggie mixture into a clean jar (Kilner jars work great!). Press it down firmly to eliminate any air pockets.
-
Pour any remaining brine into the jar.
-
Leave about 2 inches of headspace at the top.
-
Use a cabbage leaf or thin carrot slices to cover the veggies, ensuring everything stays below the brine (Below The Brine, All Is Fine!).
-
Place a weight on top to keep the veggies submerged. If using a jar with a metal lid, place a layer of parchment paper to prevent brine acidity from corroding the metal.
Step 6: Let It Ferment
-
Place your jar on a plate (it might overflow!) and leave it on your kitchen counter.
-
For the first 3-4 days, burp your jar twice daily by briefly opening the lid to release gases. After that, burp it once daily.
-
Fermentation usually takes 7-10 days, but it might take longer in colder climates or with larger batches. Taste-test after a week: when it’s tangy, funky, and delicious, it’s ready!
Step 7: Store & Enjoy
Once ready, transfer the jar to the fridge. Fermentation slows down in the cold, and your kimchi will keep for months. If you made a large batch, consider decanting it into smaller jars for easy access.
Tips for Success
-
Don’t Stress About Perfection: Fermentation is forgiving. Experiment with veggies and spice levels.
-
Keep It Submerged: Always keep your veggies below the brine to prevent mould.
-
Start Small: If you’re new to fermenting, begin with a small batch to build confidence.
FAQs
Q: What if my brine overflows?
A: This is normal! That’s why placing your jar on a plate is helpful. Wipe away any spills and leave your batch to continue fermenting.
Q: Can I use other vegetables?
A: Absolutely! Root veggies like radishes, turnips, or kohlrabi work beautifully.
Q: How do I know if it’s ready?
A: Taste it! When it’s tangy, slightly spicy, and you love the flavour, it’s done. If you are super nerdy (like me) you can test the pH - anything below 4.6 is spot on. Mine are usually around 3.7
Final Thoughts
This Root Veg Kimchi (Krautchi) is a beautiful way to use up leftovers, enjoy seasonal produce, and nourish your gut with probiotics. Whether you’re a fermentation pro or just getting started, this recipe is simple, versatile, and endlessly customizable.
Let me know how your krautchi turns out! If you’re new to fermenting and want more guidance, check out my Simple Naked Sauerkraut Recipe for a beginner-friendly introduction to the fermentation process.
Happy fermenting! 🌿