Tanggun Kimchi (Carrot Kimchi) with a Miso Twist
Share
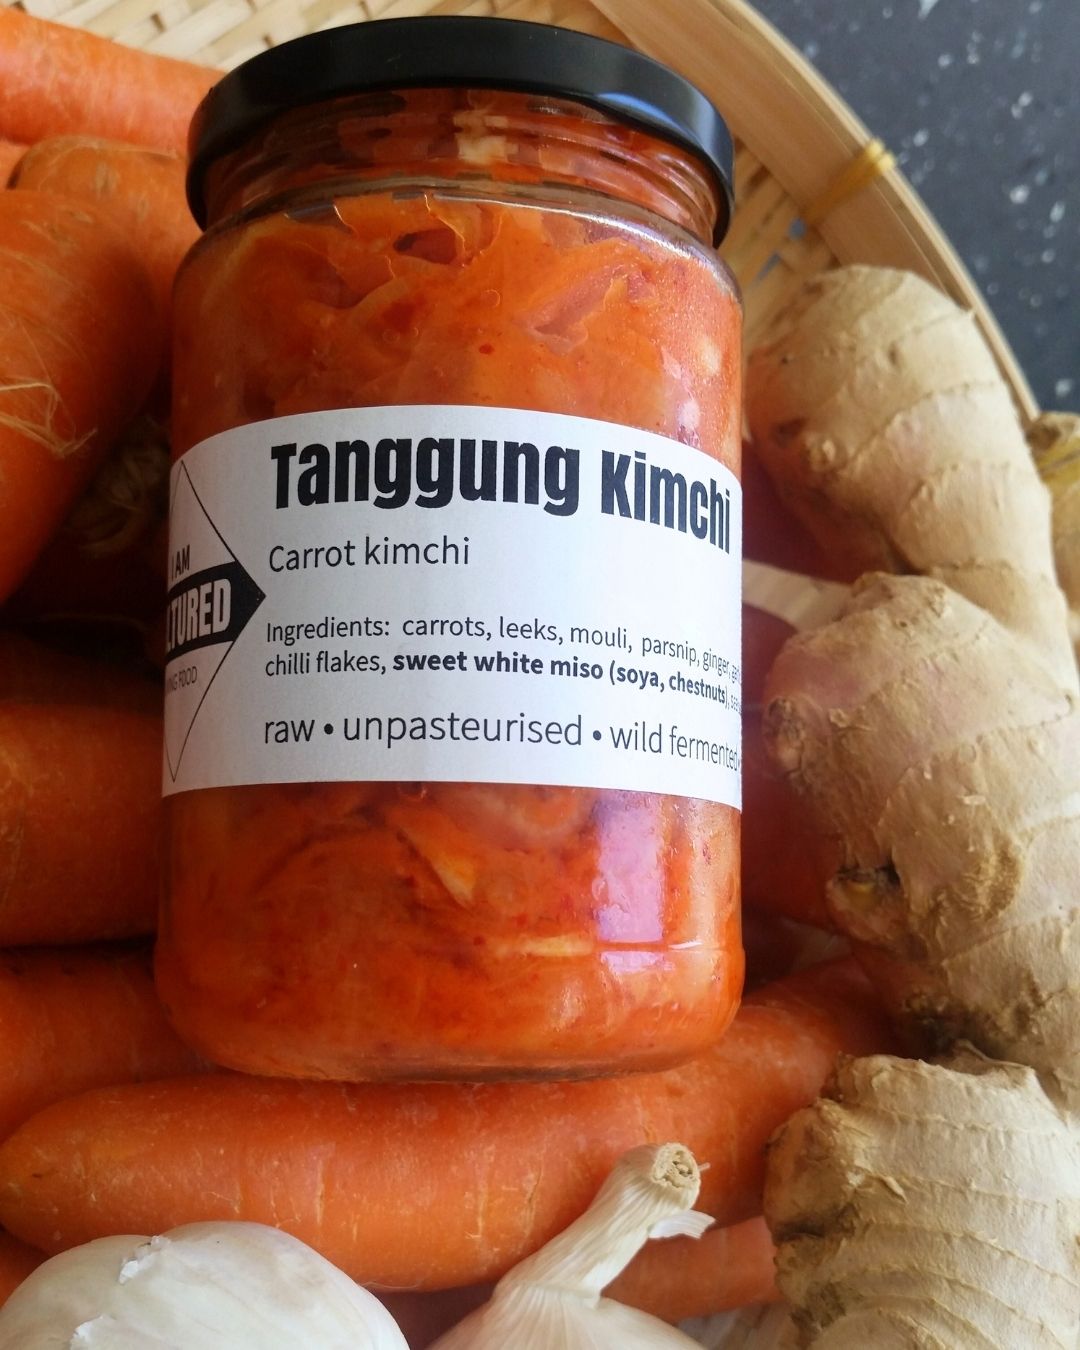
This is one of my all-time favourite recipes. It's vibrant, crunchy, full of flavour, and so easy to make. I’ve been making this carrot kimchi — or Tanggun Kimchi — for years, and it’s been such a hit that even the local Korean takeaway used to buy it in bulk when they ran low on their own batches. It’s also been a firm favourite at farmers markets (pictured is one of the jars I used to sell)
Why I Stopped Brining My Carrots
When I first developed this recipe, I followed traditional kimchi methods and soaked the grated carrots in a 5% brine overnight — similar to how you’d prep napa cabbage. The idea is to draw out moisture (keeping the ferment crunchy), reduce pathogens, and enhance flavour.
But one day, amidst the chaos of prepping over 60kg of kimchi a week, I forgot to soak the carrots... and they still turned out beautifully. So now? No brining. It’s simpler, and the result is still delicious. Like most of my recipes, this one leans more toward a kraut-chi style: a mix between classic kimchi and wild fermentation kraut.
What Makes This Recipe Special
The secret ingredient is miso. Even better is using your own homemade miso! Just one tablespoon adds an incredible depth of flavour that balances the sweetness of the carrots with the boldness of traditional kimchi spices. It’s subtle but transformative.
Another tip: grate your carrots as thickly as possible. If you have a julienne blade or a mandolin attachment, that’s perfect too. Thick cuts = crunchier results.
Ingredients
-
1 kg carrots (grated, shredded, or finely julienned)
-
250g radish*
-
1 small red onion or 1/2 bunch spring onions
-
20g fresh ginger
-
4–5 cloves garlic
-
4–5 tsp gochugaru (Korean chilli flakes) – adjust to taste
-
1 tbsp miso
-
2% salt by weight – about 22g sea salt
-
A spare cabbage leaf or keep one carrot aside to use as a former
Don't stress too much about the ingredients — just use what's in season. Mooli/daikon, small garden radishes, or even turnips will work beautifully for the radish element (I've even used parsnips!).
Method
-
Add your grated carrots to a large mixing bowl and sprinkle with salt. You don’t need to massage them like cabbage — carrots just have to look at salt before they start releasing liquid. Let them sit while you prep the rest.
-
Prep your onion. If using red onion, slice thinly or dice. For spring onions, go chunky or slice lengthways into 1/2 inch batons — up to you and your onion preferences.
-
Make your spice paste. Blitz together ginger, garlic, miso, and a splash of filtered water until smooth. If you don’t have a blender, just grate everything finely or mince it with a knife.
-
Combine everything. Add your onions, miso paste, and gochugaru to the carrots and mix well. If the mixture isn’t juicy enough, let it sit for 20–30 minutes so more brine forms.
-
Pack your jar. Pack everything tightly into a clean, sterilised jar. Eliminate air pockets and ensure the brine covers all the veggies.
-
Weight it down. Use a spare cabbage leaf or slice of carrot to keep the veg below the brine.
Fermentation mantra: Below the brine, all is fine.
-
Clean the rim, add weights, and close the jar. Because carrots are sweet and miso is an active ferment, this mix can get feisty — so place your jar on a small plate just in case. If you don’t have an airlock lid, remember to burp your jar daily.
-
Ferment. Leave it at room temperature for at least a week. Taste and see if it’s tangy enough for you. If not, let it go a few more days.
-
Refrigerate. Once you’re happy with the flavour, transfer to the fridge. I like to give it at least another week in the fridge to let the flavours really develop.
PS: I've assumed some fermentation know-how with this recipe. If you need a brush up on techniques or are new to fermentation check out my Naked Kraut recipe — it’s a great beginner’s guide
Enjoy & Share!
Let me know how you get on — I love hearing about your fermentation adventures! If you make this recipe, tag me or leave a comment below.
Happy fermenting!